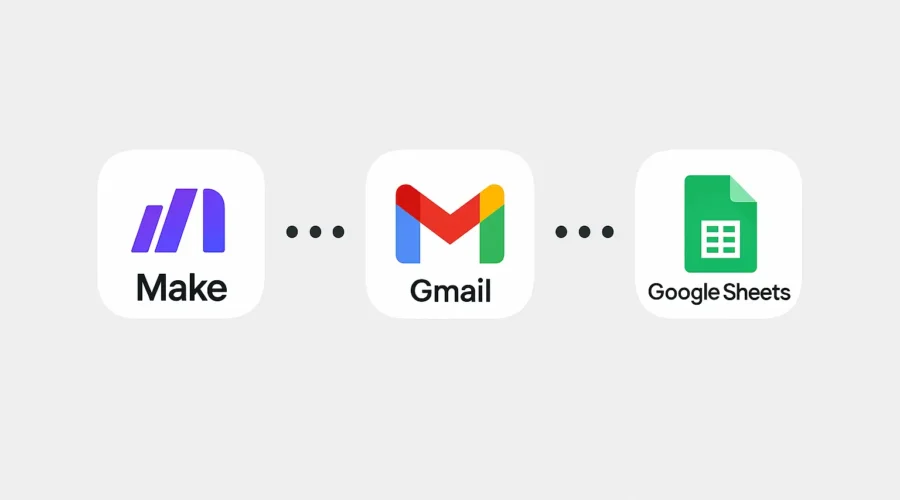
Managing tasks directly from your inbox can be a game-changer for productivity. By automating the process of logging flagged or starred emails into Google Sheets, you can seamlessly convert important emails into actionable tasks. In this guide, I’ll walk you through setting up this automation using Make (formerly Integromat), Gmail, and Google Sheets. No coding skills required—just follow these steps, and you’ll have it up and running in about 30 minutes.
Introduction
We all receive emails that require follow-up actions. Manually transferring these to a task manager or spreadsheet can be tedious and prone to errors. By automating this process, you ensure that every important email is logged as a task in Google Sheets, allowing for better tracking and management.
Step-by-Step Guide
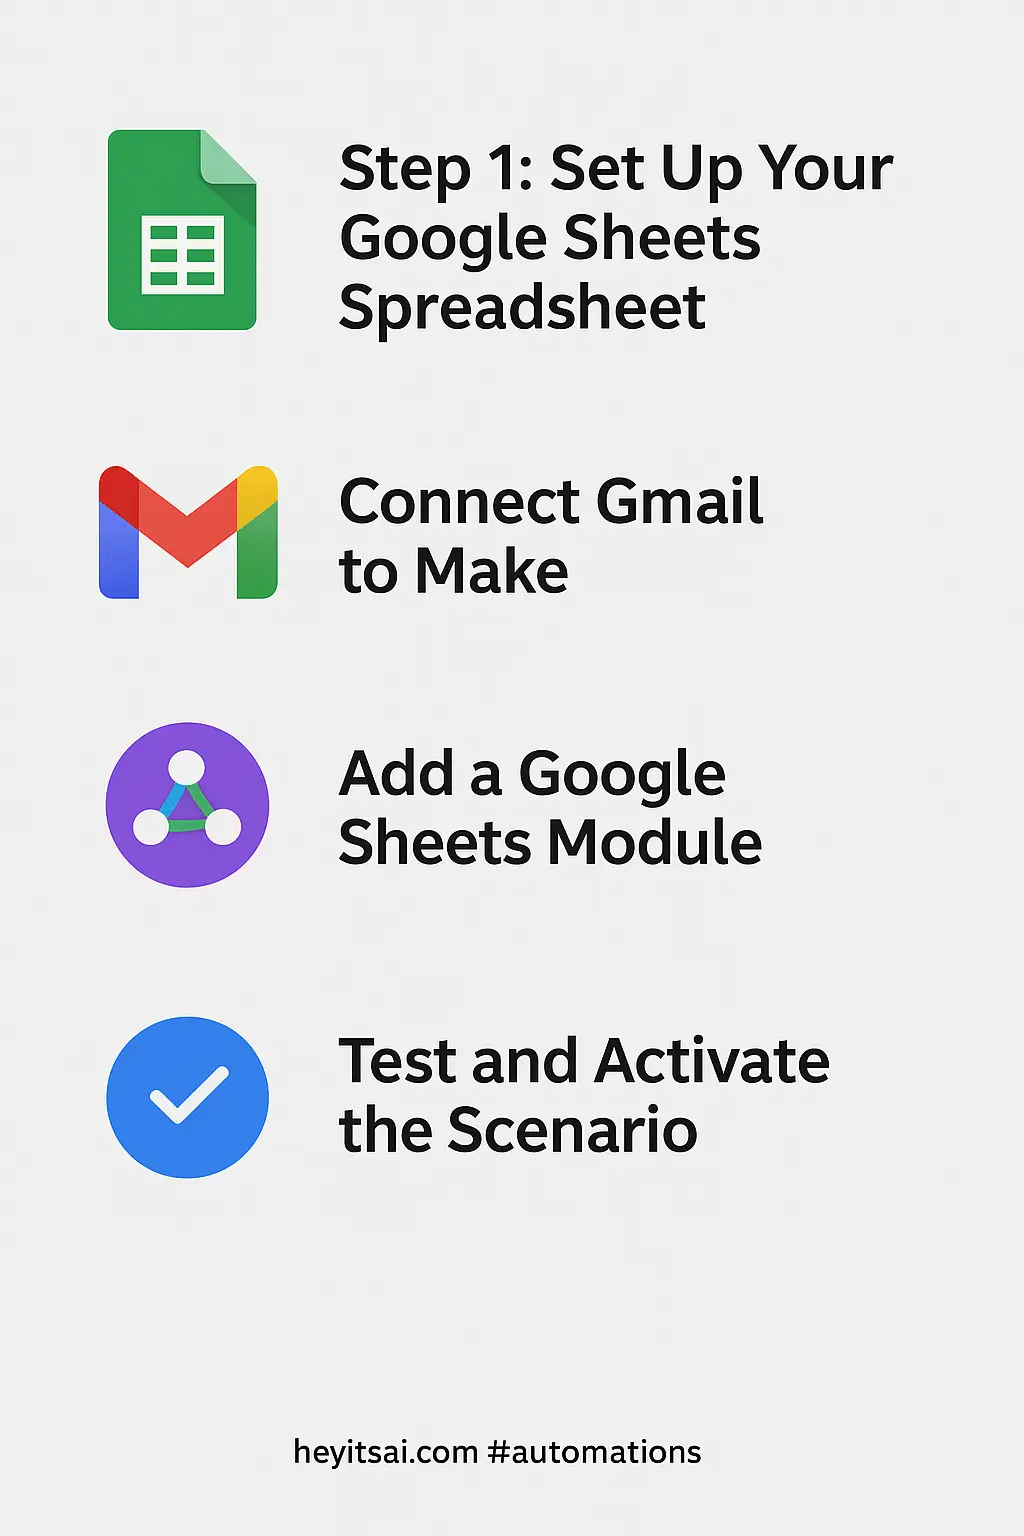
Step 1: Set Up Your Google Sheets Spreadsheet
First, create a Google Sheets spreadsheet to store your tasks. Here’s how:
- Open Google Sheets and create a new spreadsheet.
- Rename the sheet to something like “Email Tasks.”
- Create the following columns:
- Date Received
- Sender
- Subject
- Snippet
- Link to Email
These columns will help you track essential details about each task.
Step 2: Connect Gmail to Make
Next, we’ll set up Make to monitor your Gmail inbox for starred emails.
- Log in to your Make account. If you don’t have one, sign up at Make.com.
- Click on “Create a new scenario.”
- Click the “+” button to add a module and select “Gmail.”
- Choose the “Watch Emails” trigger.
- Click “Add” to create a new connection and sign in with your Google account.
- In the “Folder” field, select “Inbox.”
- In the “Criteria” field, choose “Starred” to filter only starred emails.
- Set the “Maximum number of results” to a number like 10 to limit the number of emails processed per run.
This setup tells Make to monitor your inbox and trigger the scenario whenever a new email is starred.
Step 3: Add a Google Sheets Module
Now, let’s configure Make to add a new row to your Google Sheets spreadsheet for each starred email.
- Click the “+” button after the Gmail module to add another module.
- Select “Google Sheets” and choose the “Add a Row” action.
- Click “Add” to create a new connection and sign in with your Google account.
- In the “Spreadsheet” field, select the spreadsheet you created earlier.
- In the “Sheet” field, select the appropriate sheet (e.g., “Email Tasks”).
- Map the Gmail data to the corresponding Google Sheets columns:
- Date Received: Map to the “Date” field from Gmail.
- Sender: Map to the “From” field from Gmail.
- Subject: Map to the “Subject” field from Gmail.
- Snippet: Map to the “Snippet” field from Gmail.
- Link to Email: Use the formula
=HYPERLINK("https://mail.google.com/mail/u/0/#inbox/" & [Message ID], "View Email"), replacing[Message ID]with the actual message ID from Gmail.
This configuration ensures that each starred email is logged as a new row in your spreadsheet with all relevant details.
Step 4: Test and Activate the Scenario
Before activating the scenario, it’s essential to test it:
- Click the “Run once” button in Make.
- Star an email in your Gmail inbox.
- Wait for Make to process the email. You should see a new row added to your Google Sheets spreadsheet.
If everything works as expected:
- Click the clock icon to schedule the scenario to run at your desired interval (e.g., every 15 minutes).
- Click the “Save” button to save your scenario.
- Click the toggle switch to activate the scenario.
Your automation is now live! Every time you star an email, it will be logged into your Google Sheets spreadsheet.
Optional Enhancements
To further enhance this automation, consider the following quick-win ideas:
- Filter by Specific Labels: Instead of using starred emails, you can filter emails with specific labels to categorize tasks more effectively.
- Send Notifications: Add a module to send a Slack message or SMS notification whenever a new task is added to the spreadsheet.
- Set Due Dates: Use the email’s date to calculate and set due dates for tasks automatically.
By implementing these enhancements, you can tailor the automation to fit your workflow even better.
And there you have it! With this setup, managing your to-do emails becomes a breeze, allowing you to focus on what truly matters.