Managing tasks and schedules can be a juggling act, but automating the process can save you time and reduce errors. In this guide, I’ll walk you through setting up an automation that pushes due Todoist tasks as Google Calendar events using Make (formerly Integromat). This setup will take approximately 30 minutes and is suitable for beginners.
Introduction
By integrating Todoist with Google Calendar, you can ensure that your tasks with due dates automatically appear in your calendar. This synchronization helps in better time management and ensures you never miss a deadline. We’ll use Make to create this automation, leveraging its intuitive interface to connect Todoist and Google Calendar seamlessly.
Step-by-Step Guide
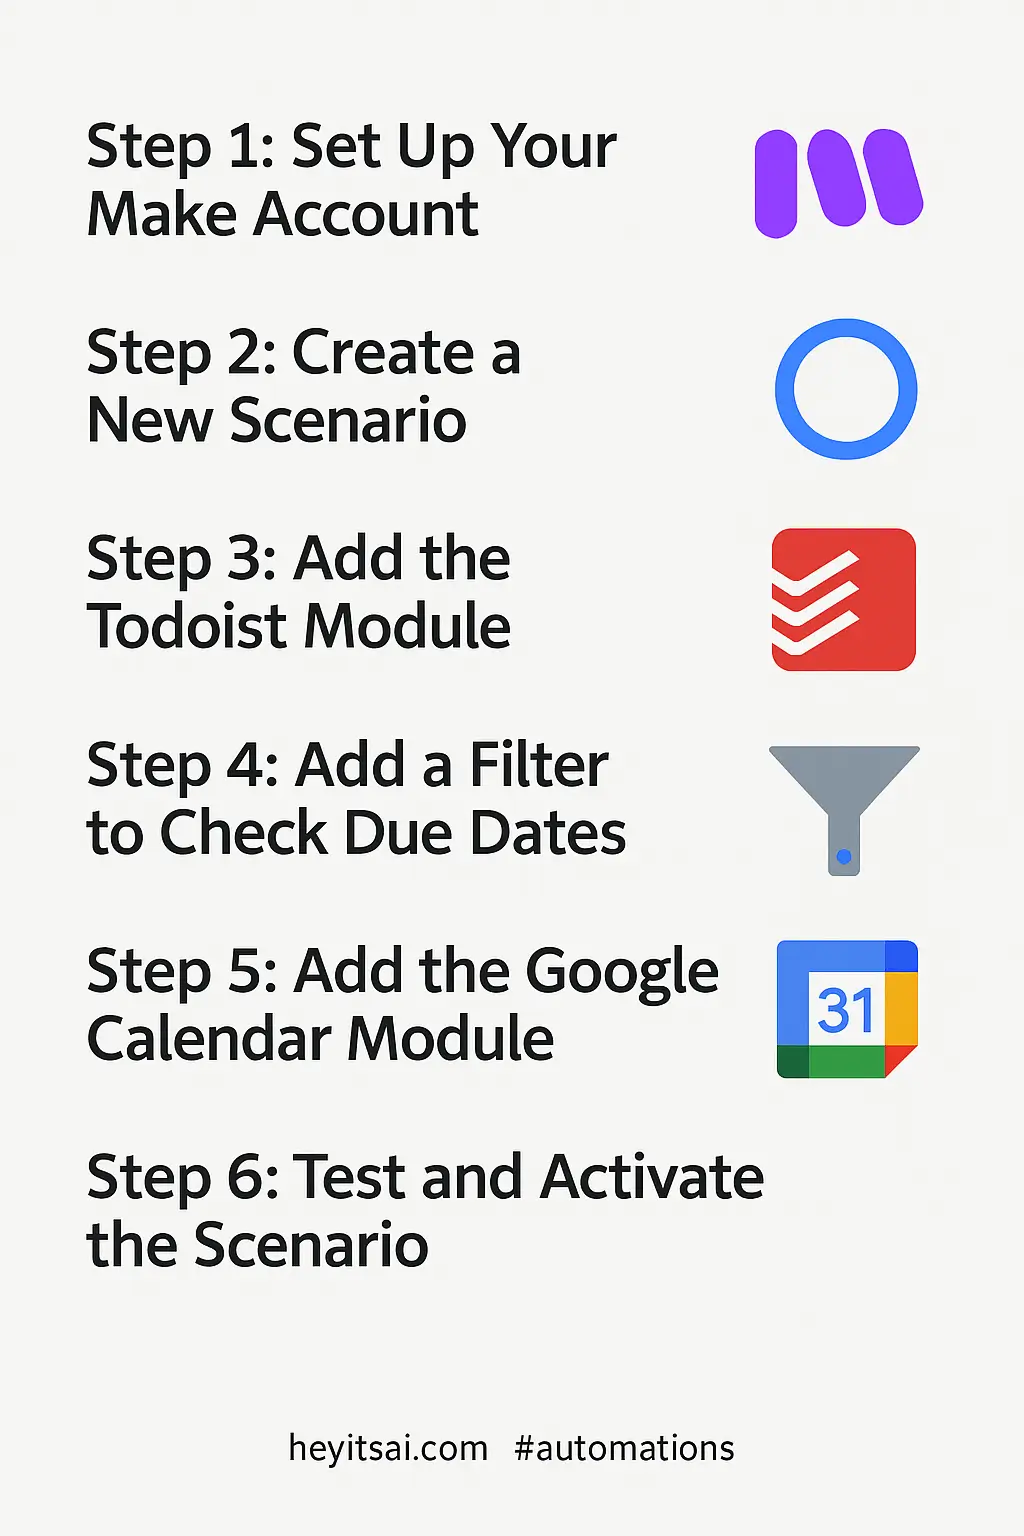
Step 1: Set Up Your Make Account
First, sign up for a free account on Make if you haven’t already. Once registered, log in to access the dashboard.
Step 2: Create a New Scenario
In Make, scenarios are workflows that automate tasks between apps. To create a new scenario:
- Click on the + Create a new scenario button.
- A blank canvas will appear where you’ll build your automation.
Step 3: Add the Todoist Module
We’ll start by setting up Todoist as the trigger:
- Click on the + button on the canvas.
- Search for and select Todoist.
- Choose the Watch Tasks trigger. This module monitors your Todoist account for new or updated tasks.
- Click on Add to create a connection to your Todoist account. You’ll be prompted to authorize Make to access your Todoist data.
- Once connected, configure the module:
- Project: Select the specific project you want to monitor, or choose All to monitor all projects.
- Task Status: Choose Incomplete to focus on tasks that are not yet completed.
- Label: If you use labels to categorize tasks, you can specify one here to filter tasks further.
Step 4: Add a Filter to Check Due Dates
We want to ensure that only tasks with due dates are processed:
- Click on the line connecting the Todoist module to the next step.
- Click on the Filter icon.
- Set up the filter:
- Condition:
Due Dateexists
- Condition:
Step 5: Add the Google Calendar Module
Next, we’ll set up Google Calendar to create events based on the Todoist tasks:
- Click on the + button after the filter.
- Search for and select Google Calendar.
- Choose the Create an Event action.
- Click on Add to create a connection to your Google Calendar account. You’ll be prompted to authorize Make to access your calendar.
- Once connected, configure the module:
- Calendar ID: Select the calendar where you want the events to be added.
- Summary: Map this to the
Contentfield from the Todoist task. This will be the event title. - Description: Optionally, map this to the
Descriptionfield from Todoist, if you use it. - Start Date & Time: Map this to the
Due Datefield from Todoist. Ensure that the date and time formats match. - End Date & Time: You can set this to a default duration (e.g., 1 hour after the start time) or use a custom field from Todoist if you specify durations there.
Step 6: Test and Activate the Scenario
Before activating the scenario, it’s essential to test it:
- Click on the Run Once button to test the workflow.
- Create a new task in Todoist with a due date and time.
- Check your Google Calendar to see if the event appears as expected.
If everything works correctly, activate the scenario by clicking on the Schedule button and setting it to run at your desired frequency (e.g., every 15 minutes).
Optional Enhancements
To further optimize this automation, consider the following enhancements:
- Set Up Error Handling: Add error handling modules in Make to manage any issues that might arise during the automation process.
- Customize Event Details: Use additional fields from Todoist, such as priority or labels, to customize event details in Google Calendar.
- Two-Way Sync: Set up a reverse automation to create Todoist tasks from new Google Calendar events, ensuring both platforms are always in sync.
By following these steps, you’ll have a robust automation that keeps your tasks and calendar events synchronized, enhancing your productivity and time management.