Managing completed tasks in Asana is essential for maintaining an organized workflow. However, manually exporting these tasks every month can be tedious. In this guide, I’ll show you how to automate the process of archiving closed Asana tasks into a CSV file monthly using Make (formerly Integromat). This setup will take approximately 30 minutes and is suitable for users with intermediate technical skills.
Introduction
Asana is a powerful project management tool, but its native export features can be limited when it comes to automating reports. By integrating Asana with Make, we can create a workflow that automatically exports completed tasks to a CSV file at the end of each month. This automation eliminates manual downloads and ensures that your reports are always up-to-date.
Step-by-Step Guide
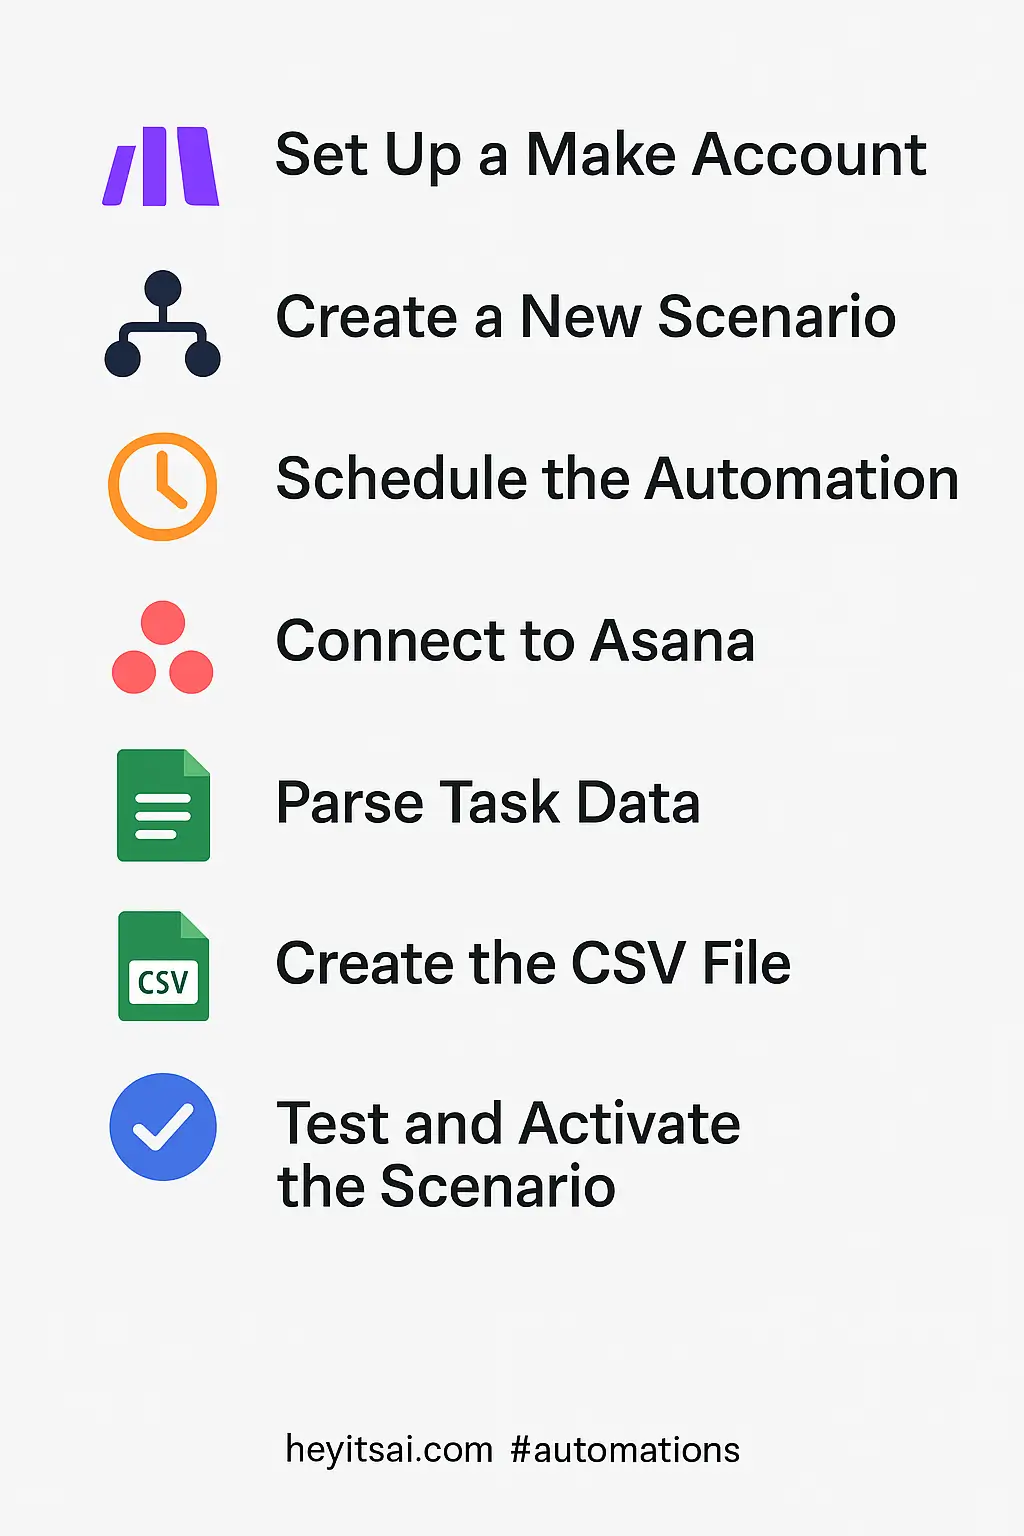
1. Set Up a Make Account
First, sign up for a free account on Make. Once registered, log in to access the dashboard.
2. Create a New Scenario
In Make, scenarios are workflows that automate tasks. To create a new scenario:
- Click on the “Create a new scenario” button.
- In the scenario editor, click the “+” button to add your first module.
3. Schedule the Automation
We want this automation to run monthly. To set this up:
- Add the “Scheduler” module as the first step.
- Configure it to run on the last day of each month at a specific time (e.g., 11:59 PM).
This ensures that the automation captures all tasks completed during the month.
4. Connect to Asana
Next, we’ll set up a connection to Asana:
- Add the “Asana” module and choose the “Search Tasks” action.
- Connect your Asana account by following the authentication prompts.
- In the module configuration:
- Select the workspace and project you want to pull tasks from.
- Set the “Completed” field to “true” to filter only completed tasks.
- Use the “Completed At” field to filter tasks completed within the current month. You can set this dynamically using Make’s date functions.
5. Parse Task Data
To prepare the data for CSV export:
- Add the “Iterator” module to process each task individually.
- Map relevant fields from Asana tasks to the iterator, such as:
- Task Name
- Assignee
- Completion Date
- Project Name
6. Create the CSV File
Now, we’ll generate the CSV file:
- Add the “CSV” module and choose the “Create CSV” action.
- Configure the module:
- Define the CSV columns corresponding to the task fields you’ve mapped.
- Ensure that the data from the iterator is correctly mapped to each column.
7. Save the CSV File
Decide where you want to store the CSV file. Options include:
- Google Drive
- Dropbox
- OneDrive
To save the file:
- Add the appropriate module for your chosen storage service.
- Connect your account and configure the module to upload the CSV file to a specific folder.
- Use dynamic naming for the file, such as “Completed_Tasks_{{month}}_{{year}}.csv”, to keep track of monthly reports.
8. Test and Activate the Scenario
Before activating:
- Run the scenario manually to ensure it works as expected.
- Check the storage location to confirm that the CSV file is created and contains the correct data.
- Once verified, set the scenario to “On” to enable automatic monthly runs.
Optional Enhancements
To further improve this automation:
- Email Notifications: Add an email module to send a notification when the CSV file is created.
- Data Backup: Integrate with a backup service to store copies of the CSV files for redundancy.
- Data Visualization: Connect the CSV data to a dashboard tool like Google Data Studio for visual reporting.
By following these steps, you can automate the process of archiving completed Asana tasks into a CSV file each month, saving time and ensuring consistent reporting.
