Managing your business finances can be a hassle, especially when it involves manually recording every Stripe payment into QuickBooks Online. But what if you could automate this process and save yourself a ton of time? Enter Make (formerly Integromat), a powerful automation tool that can seamlessly sync your Stripe payments to QuickBooks Online. In this guide, I’ll walk you through setting up this automation step by step. Let’s dive in!
Step-by-Step Guide
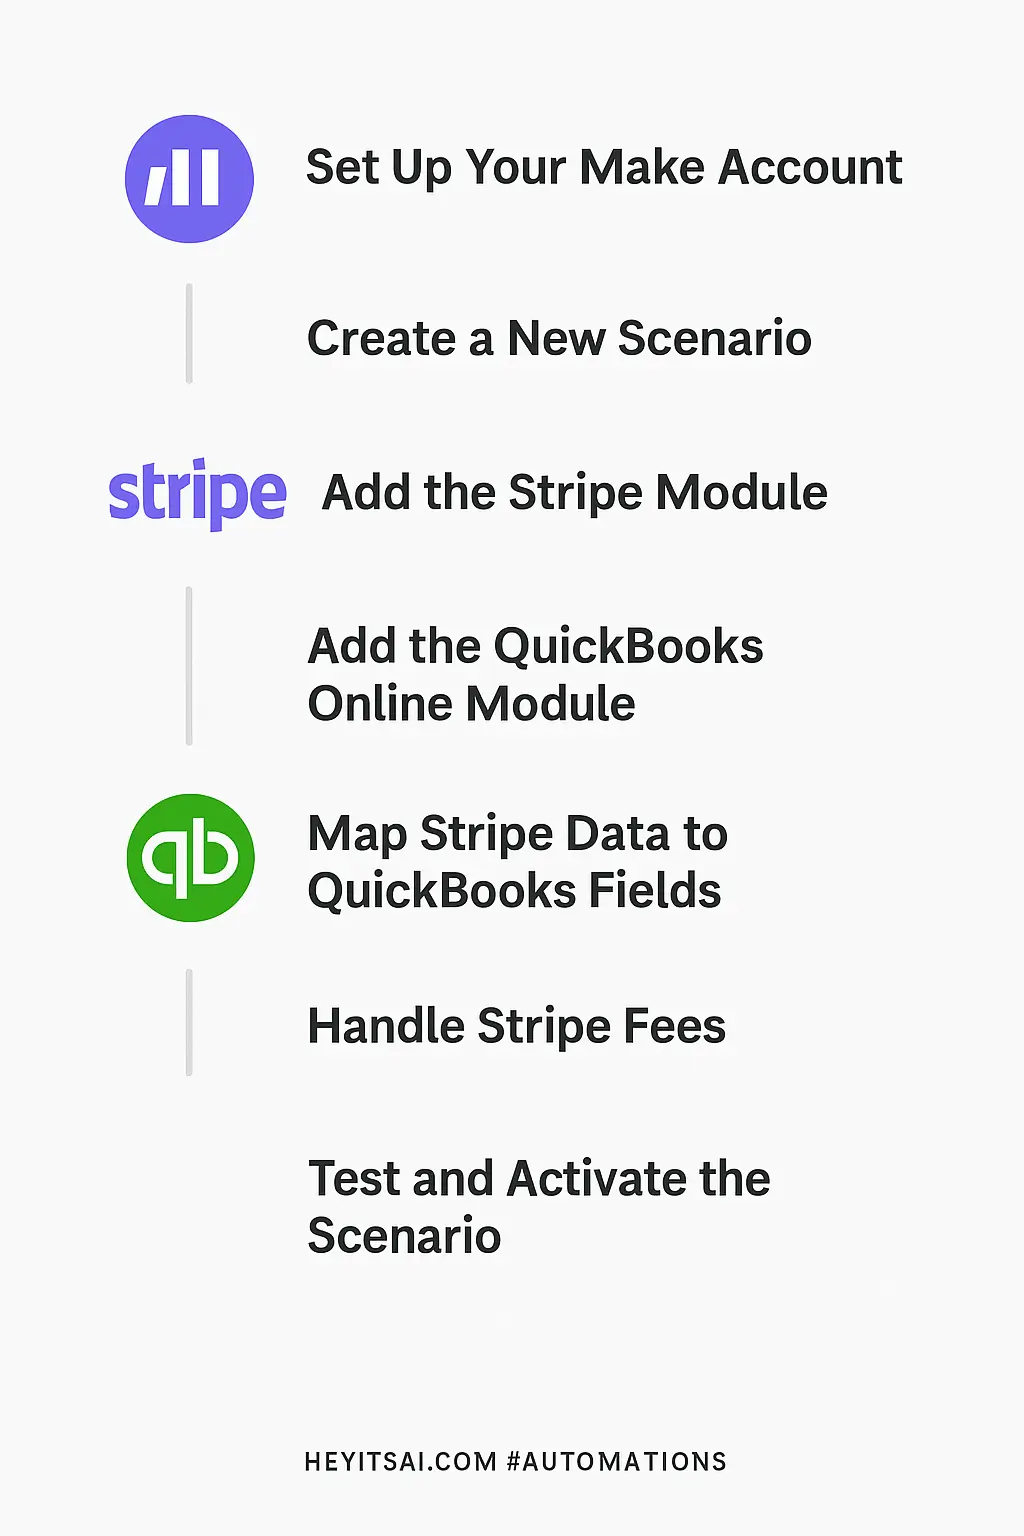
1. Set Up Your Make Account
First things first, if you haven’t already, sign up for a free account on Make. Once you’re in, familiarize yourself with the dashboard—this is where all the magic happens.
2. Create a New Scenario
In Make, scenarios are workflows that connect different apps to automate tasks. To create a new scenario:
- Click on the + Create a new scenario button.
- A blank canvas will appear, ready for you to add modules.
3. Add the Stripe Module
Now, let’s set up Stripe as the trigger:
- Click on the + button on the canvas.
- Search for and select the Stripe module.
- Choose the Watch Events trigger.
- Connect your Stripe account by following the on-screen instructions.
- In the Event Type field, select charge.succeeded. This ensures the scenario triggers only when a payment is successfully processed.
4. Add the QuickBooks Online Module
Next, let’s set up QuickBooks Online to record the payment:
- Click on the + button next to the Stripe module.
- Search for and select the QuickBooks Online module.
- Choose the Create a Sales Receipt action.
- Connect your QuickBooks Online account by following the on-screen instructions.
5. Map Stripe Data to QuickBooks Fields
Now, let’s map the data from Stripe to the appropriate fields in QuickBooks Online:
- Customer: Map to the customer’s email from Stripe. If the customer doesn’t exist in QuickBooks, Make will create a new one.
- Payment Method: Set to Credit Card or another appropriate method.
- Deposit To: Choose the account where you want the funds to be recorded.
- Line Items:
- Product/Service: Map to a generic product/service like Stripe Sale.
- Description: Map to the description from Stripe.
- Amount: Map to the amount from Stripe.
6. Handle Stripe Fees
To account for Stripe’s processing fees:
- Add another line item in the QuickBooks module.
- Product/Service: Set to Stripe Fees (ensure this exists in QuickBooks).
- Description: Set to Stripe Processing Fee.
- Amount: Map to the fee amount from Stripe and enter it as a negative value (e.g.,
-{{fee_amount}}).
7. Test and Activate the Scenario
Before going live:
- Click the Run Once button to test the scenario.
- Process a test payment in Stripe to see if it appears correctly in QuickBooks Online.
- If everything looks good, click the Save button and then toggle the scenario to ON.
Optional Enhancements
Want to take it a step further? Here are some quick-win ideas:
- Customer Matching: Before creating a new customer in QuickBooks, search for existing ones to avoid duplicates.
- Handle Refunds: Add a module to watch for charge.refunded events in Stripe and create corresponding refund receipts in QuickBooks.
- Detailed Reporting: Add more data points like product names or SKUs to your QuickBooks entries for detailed reporting.
And there you have it! With this setup, every Stripe payment will be automatically recorded in QuickBooks Online, saving you time and reducing manual errors. Happy automating!


