Provisioning AWS EC2 instances dynamically based on web form submissions can significantly streamline your infrastructure management. By integrating Make.com with AWS EC2, you can automate the creation of servers upon admin-approved requests. This guide will walk you through setting up this automation, ensuring that each step is clear and actionable.
**Introduction**
Automating the provisioning of AWS EC2 instances from web form submissions allows for efficient resource management and rapid deployment. By leveraging Make.com, you can create a seamless workflow that triggers instance creation upon form submission and subsequent admin approval. This setup is ideal for teams looking to minimize manual intervention and accelerate their deployment processes.
**Step-by-Step Guide**
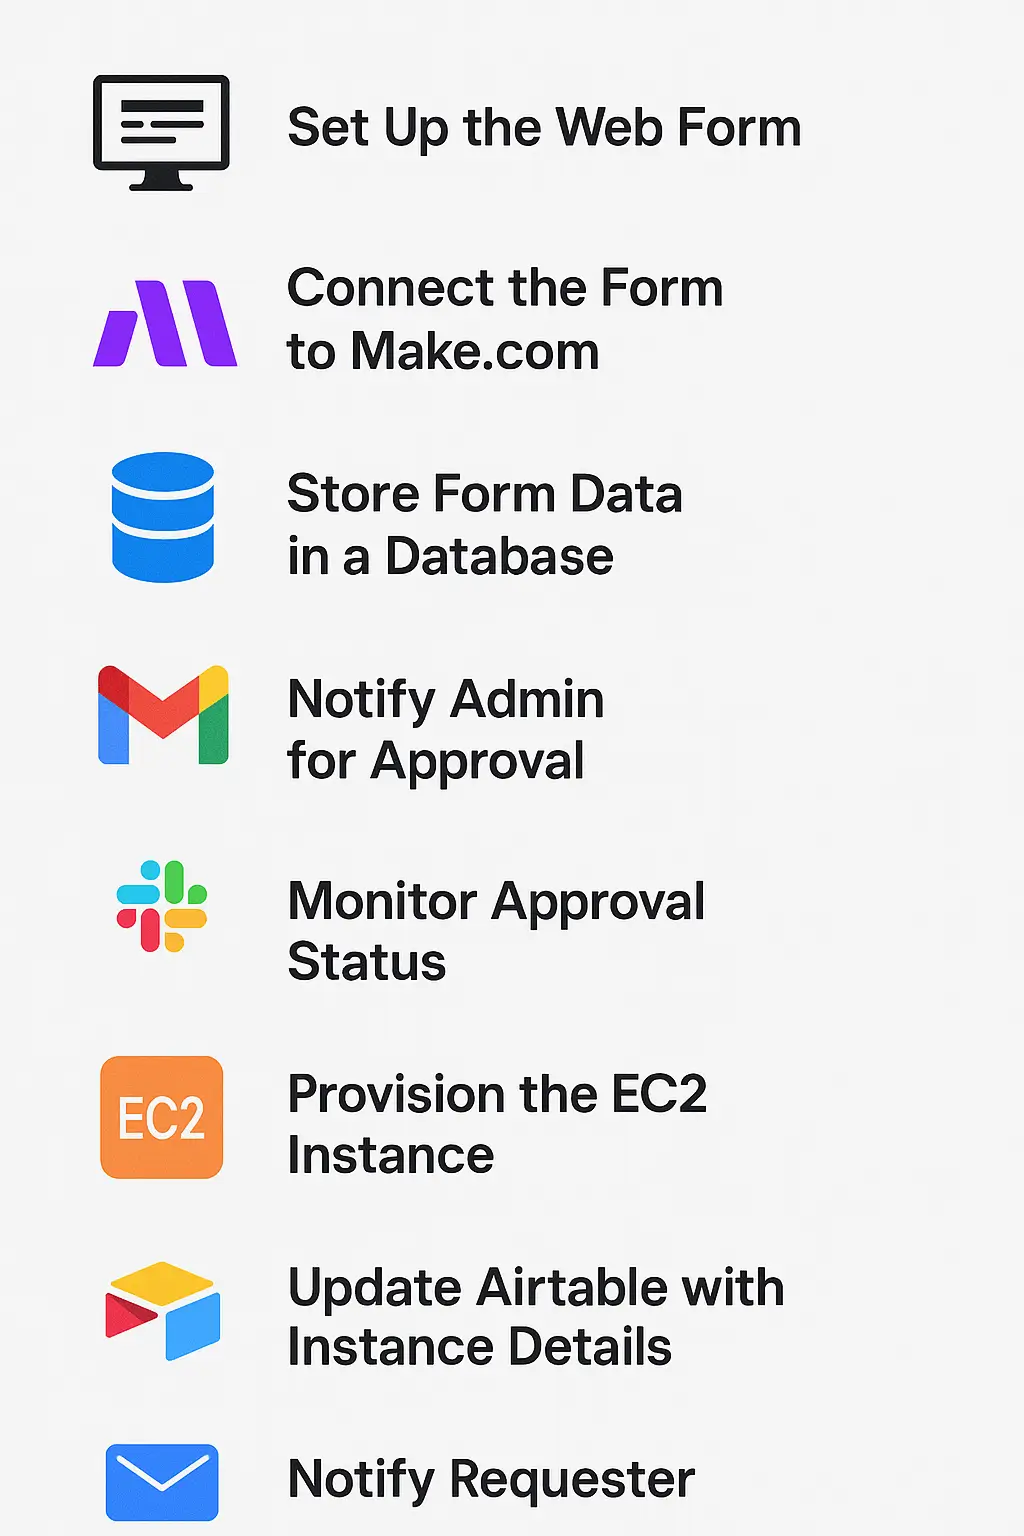
**1. Set Up the Web Form**
Begin by creating a web form to collect the necessary information for the EC2 instance. Tools like Google Forms, Typeform, or JotForm are suitable for this purpose. Ensure the form includes fields such as:
– **Instance Type**: Dropdown with options like t2.micro, t2.small, etc.
– **Region**: Dropdown to select the AWS region.
– **Purpose**: Text field for the requester to describe the intended use.
– **Requester Email**: Email field to capture the requester’s contact information.
**2. Connect the Form to Make.com**
After setting up the form, integrate it with Make.com to capture submissions:
– **Trigger Module**: Use the appropriate module for your form provider (e.g., “Google Forms” > “Watch Responses” or “Typeform” > “Watch Responses”).
– **Configuration**: Authenticate your account and select the specific form to monitor.
**3. Store Form Data in a Database**
To manage and track requests, store the form data in a database like Airtable:
– **Airtable Module**: Add the “Airtable” > “Create a Record” module.
– **Configuration**:
– **Base**: Select or create a base named “EC2 Requests”.
– **Table**: Create a table with fields corresponding to the form inputs:
– **Instance Type**: Single line text.
– **Region**: Single line text.
– **Purpose**: Long text.
– **Requester Email**: Email.
– **Approval Status**: Single select with options “Pending”, “Approved”, “Rejected”.
– **Mapping**: Map the form fields to the corresponding Airtable fields.
**4. Notify Admin for Approval**
Once a new request is stored, notify the admin for approval:
– **Email Module**: Use the “Email” > “Send an Email” module.
– **Configuration**:
– **To**: Admin’s email address.
– **Subject**: “New EC2 Instance Request Pending Approval”.
– **Body**: Include details from the form submission and a link to the Airtable record for approval.
**5. Monitor Approval Status**
Set up a mechanism to monitor the approval status:
– **Airtable Module**: Add the “Airtable” > “Watch Records” module.
– **Configuration**:
– **Base**: “EC2 Requests”.
– **Table**: “Requests”.
– **Trigger**: When “Approval Status” changes to “Approved”.
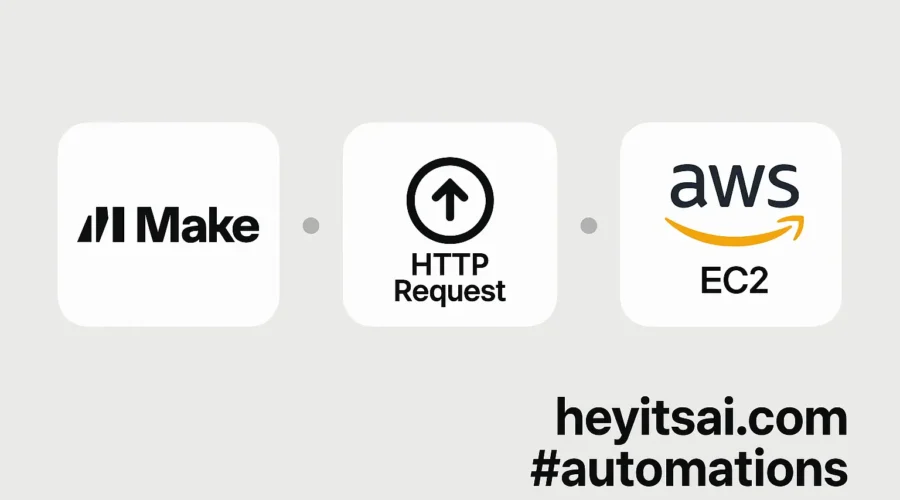
**6. Provision the EC2 Instance**
Upon approval, automate the provisioning of the EC2 instance:
– **HTTP Module**: Use the “HTTP” > “Make a Request” module.
– **Configuration**:
– **URL**: `https://ec2.amazonaws.com/`
– **Method**: POST
– **Headers**:
– **Authorization**: “Bearer YOUR_AWS_ACCESS_KEY”
– **Content-Type**: “application/x-www-form-urlencoded”
– **Query String**:
– **Action**: “RunInstances”
– **ImageId**: “ami-xxxxxxxxxxxxxxxxx” (Replace with the desired AMI ID)
– **InstanceType**: Map from the Airtable “Instance Type” field
– **MaxCount**: “1”
– **MinCount**: “1”
– **Placement.AvailabilityZone**: Map from the Airtable “Region” field
– **Body**: Leave empty for this request.
**7. Update Airtable with Instance Details**
After provisioning, update the Airtable record with the instance details:
– **Airtable Module**: Add the “Airtable” > “Update a Record” module.
– **Configuration**:
– **Base**: “EC2 Requests”.
– **Table**: “Requests”.
– **Record ID**: Map from the previous Airtable record.
– **Fields to Update**:
– **Instance ID**: Map from the HTTP response.
– **Public IP**: Map from the HTTP response.
– **Provisioning Status**: Set to “Completed”.
**8. Notify Requester**
Finally, inform the requester that their instance is ready:
– **Email Module**: Use the “Email” > “Send an Email” module.
– **Configuration**:
– **To**: Map from the Airtable “Requester Email” field.
– **Subject**: “Your EC2 Instance is Ready”.
– **Body**: Include the instance details such as Instance ID and Public IP.
**Optional Enhancements**
– **Security Group Configuration**: Add steps to configure security groups based on the purpose specified in the form.
– **Cost Monitoring**: Integrate with AWS Cost Explorer to monitor and report the costs associated with the provisioned instances.
– **Instance Termination**: Implement a mechanism to terminate instances after a specified period or upon request to optimize resource usage.
By following this guide, you can set up an efficient and automated system to provision AWS EC2 instances based on web form submissions, ensuring that your infrastructure scales dynamically with your needs.