Hey there! If you’re looking to automate your Instagram DMs to efficiently guide your followers toward your offers, you’re in the right place. In this guide, I’ll walk you through setting up an auto-reply system using Manychat, ChatGPT, and the Instagram API. We’ll cover everything from connecting your accounts to crafting personalized responses. Let’s dive in!
Introduction
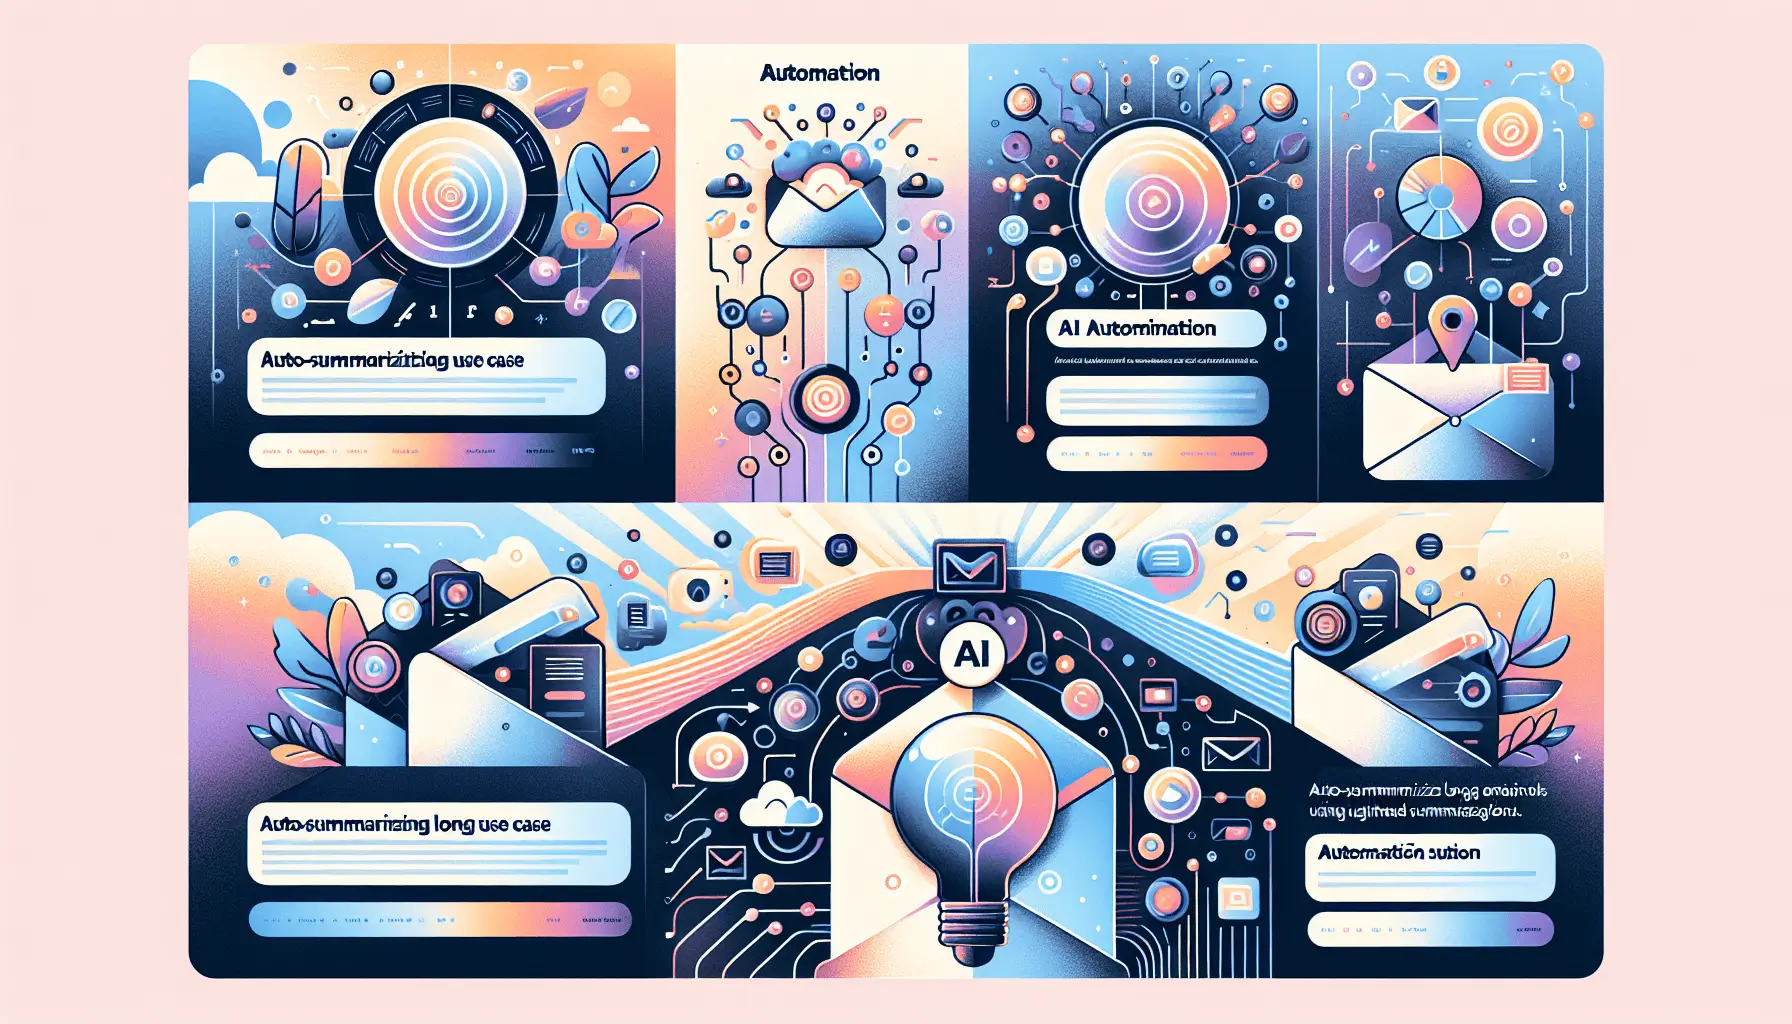
Managing Instagram DMs can be time-consuming, especially when you’re trying to engage with every follower personally. By integrating Manychat with ChatGPT and the Instagram API, you can automate responses to inbound DMs, providing timely and relevant information to your audience. This setup not only saves you time but also enhances user experience by delivering prompt replies.
Step-by-Step Guide
1. Set Up Your Manychat Account
First things first, you’ll need a Manychat account. If you haven’t already, sign up at Manychat. Once registered, follow these steps:
- Connect Your Instagram Account: In Manychat, navigate to Settings > Instagram and click on Connect. You’ll be prompted to log in to your Instagram account and grant the necessary permissions. Ensure your Instagram account is a Business or Creator account linked to a Facebook Page. For detailed instructions, refer to Manychat’s guide.
2. Integrate ChatGPT with Manychat
To leverage AI-driven responses, integrate ChatGPT with Manychat:
- Obtain OpenAI API Key: Sign up at OpenAI and generate an API key by navigating to the API Keys section and clicking on Create New Secret Key. Copy this key for later use.
- Connect ChatGPT to Manychat: In Manychat, go to Settings > Integrations > ChatGPT. Paste your OpenAI API key and click Connect. This integration allows Manychat to send user inputs to ChatGPT and receive AI-generated responses. Detailed steps are available in Manychat’s ChatGPT Integration guide.
3. Create an Automation Flow in Manychat
Now, let’s set up the automation flow to handle incoming DMs:
- Navigate to Automation: In Manychat, click on the Automation tab and select Flows.
- Create a New Flow: Click on New Flow and choose Start from Scratch. Name your flow something like “Instagram DM Auto-Reply”.
- Add a Trigger: Click on Add Trigger and select Instagram Keyword. This trigger activates the flow when a user sends a DM containing specific keywords. For instance, if you want to trigger the flow when someone asks about your services, you might set keywords like “services”, “pricing”, or “info”.
4. Configure User Input and ChatGPT Integration
To process user messages and generate AI responses:
- Add a User Input Block: After the trigger, add a User Input block. This block captures the user’s message. Set the Reply Type to Text and save the input to a custom field, e.g.,
user_query. - Integrate ChatGPT: Add an Action block and select ChatGPT Actions. Configure it as follows:
- Prompt: “Please provide a concise response to the following user query: {{user_query}}. Ensure the reply is friendly and directs the user to our latest offers.”
- Advanced Settings: Set the Engine to
text-davinci-003, Maximum Tokens to 150, and Temperature to 0.7. These settings control the response’s length and creativity. - Save Response: Store ChatGPT’s reply in a custom field, e.g.,
chatgpt_response.
5. Send the AI-Generated Response
To deliver the AI-generated reply to the user:
- Add a Message Block: After the ChatGPT action, add a Message block. Insert the custom field
chatgpt_responseinto the message content. This setup ensures the user receives the AI-generated reply.
6. Test and Publish Your Automation
Before going live:
- Test the Flow: Use Manychat’s Preview feature to simulate the automation. Send a DM containing one of the trigger keywords and verify that the system responds appropriately.
- Publish the Flow: Once satisfied, click Publish to activate the automation.
Optional Enhancements
To further optimize your automation:
- Collect User Information: Add steps to gather user details like email addresses or phone numbers. This data can be stored in custom fields such as
user_emailoruser_phonefor future marketing efforts. - Segment Users: Use Manychat’s tagging system to categorize users based on their inquiries. For example, tag users interested in “pricing” as
interested_in_pricing. This segmentation allows for more targeted follow-ups. - Integrate with CRM: Connect Manychat to your CRM (like Pipedrive) using tools like Zapier. For instance, when a user provides their email, you can create a new deal in Pipedrive with fields like
lead_scoreandqualified_status.
By following these steps, you’ll have a robust system that not only automates your Instagram DMs but also provides personalized responses, guiding your followers toward your offers effectively. Happy automating!