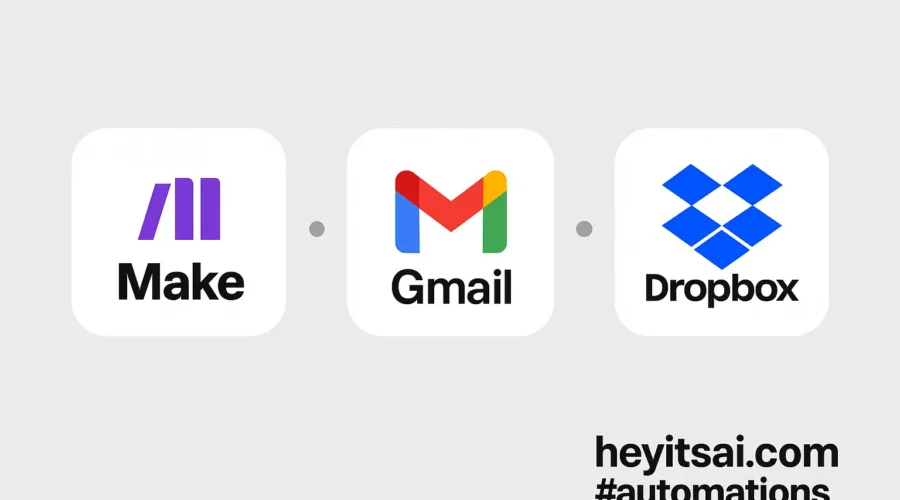
Managing email attachments can be a hassle, especially when you’re juggling multiple tasks. Wouldn’t it be great if every attachment you received in Gmail was automatically saved to your Dropbox? Good news—it’s entirely possible, and you don’t need to be a tech wizard to set it up. In this guide, I’ll walk you through the process using Make (formerly Integromat), Gmail, and Dropbox. In about 20 minutes, you’ll have a seamless system that archives your email attachments automatically.
Introduction
Automating the transfer of email attachments to Dropbox not only saves time but also ensures that important files are backed up and easily accessible. By integrating Gmail with Dropbox through Make, you can create a workflow that detects new email attachments and uploads them to a specified Dropbox folder. This setup is perfect for solo entrepreneurs, freelancers, or anyone looking to streamline their digital workflow.
Step-by-Step Guide
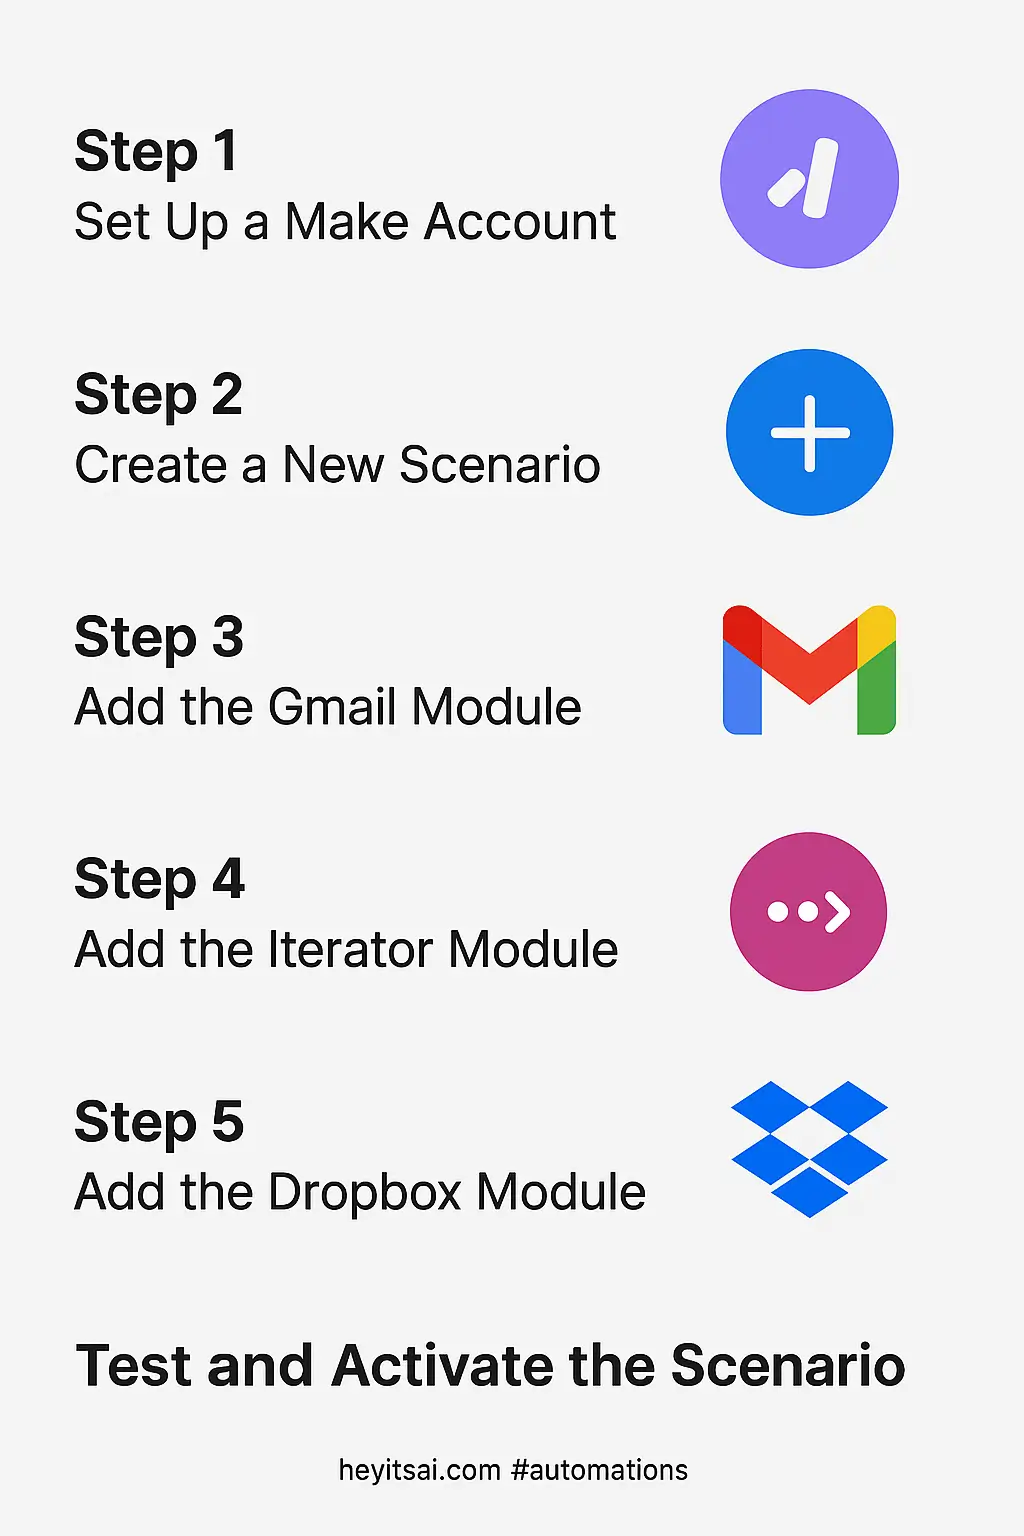
Step 1: Set Up a Make Account
First things first, if you haven’t already, sign up for a free account on Make. This platform allows you to connect various apps and automate workflows without any coding knowledge.
Step 2: Create a New Scenario
Once logged in:
- Click on the “Create a new scenario” button.
- A blank canvas will appear, ready for you to build your automation.
Step 3: Add the Gmail Module
To monitor incoming emails:
- Click on the “+” icon on the canvas.
- Search for “Gmail” and select the “Watch Emails” module.
- Connect your Gmail account by following the on-screen instructions.
- Configure the module:
- Folder: Choose “All Mail” or a specific label if you want to monitor a particular category.
- Criteria: Select “Only Unread” to process new emails.
- Mark as Read: Choose “Yes” to mark emails as read after processing.
For advanced settings, you can specify conditions like emails from a particular sender or with specific subjects. This helps in filtering the emails you want to process.
Step 4: Add the Iterator Module
Since emails can have multiple attachments, we’ll use an iterator to process each one:
- Click on the “+” icon after the Gmail module.
- Search for “Gmail” and select the “Iterate Attachments” module.
- The source module should automatically be set to the previous Gmail module. Click “OK” to confirm.
Step 5: Add the Dropbox Module
Now, let’s set up the Dropbox module to upload the attachments:
- Click on the “+” icon after the Iterator module.
- Search for “Dropbox” and select the “Upload a File” module.
- Connect your Dropbox account by following the on-screen instructions.
- Configure the module:
- Folder: Choose the destination folder in your Dropbox where you want to save the attachments.
- File Name: Map the “Name” field from the Iterator module to maintain the original file name.
- File Content: Map the “Data” field from the Iterator module to upload the actual file content.
Step 6: Test and Activate the Scenario
Before going live:
- Click on the “Run Once” button to test the scenario.
- Send an email to yourself with an attachment to see if it’s processed correctly.
- If everything works as expected, set the scenario to run at your desired interval (e.g., every 15 minutes).
- Finally, toggle the scenario to “On” to activate it.
Optional Enhancements
Once you’ve got the basic setup running, consider these quick wins to enhance your workflow:
- Organize Attachments by Sender: Modify the Dropbox module to create subfolders named after the email sender. This way, attachments from each sender are stored in their respective folders.
- Filter by Attachment Type: Use filters in the Gmail module to process only specific types of attachments, such as PDFs or images.
- Notify via Slack: Add a Slack module to send a notification whenever a new attachment is saved to Dropbox, keeping you informed in real-time.
By following these steps, you’ll have a robust system that automatically moves your Gmail attachments to Dropbox, saving you time and ensuring your important files are always backed up. Happy automating!