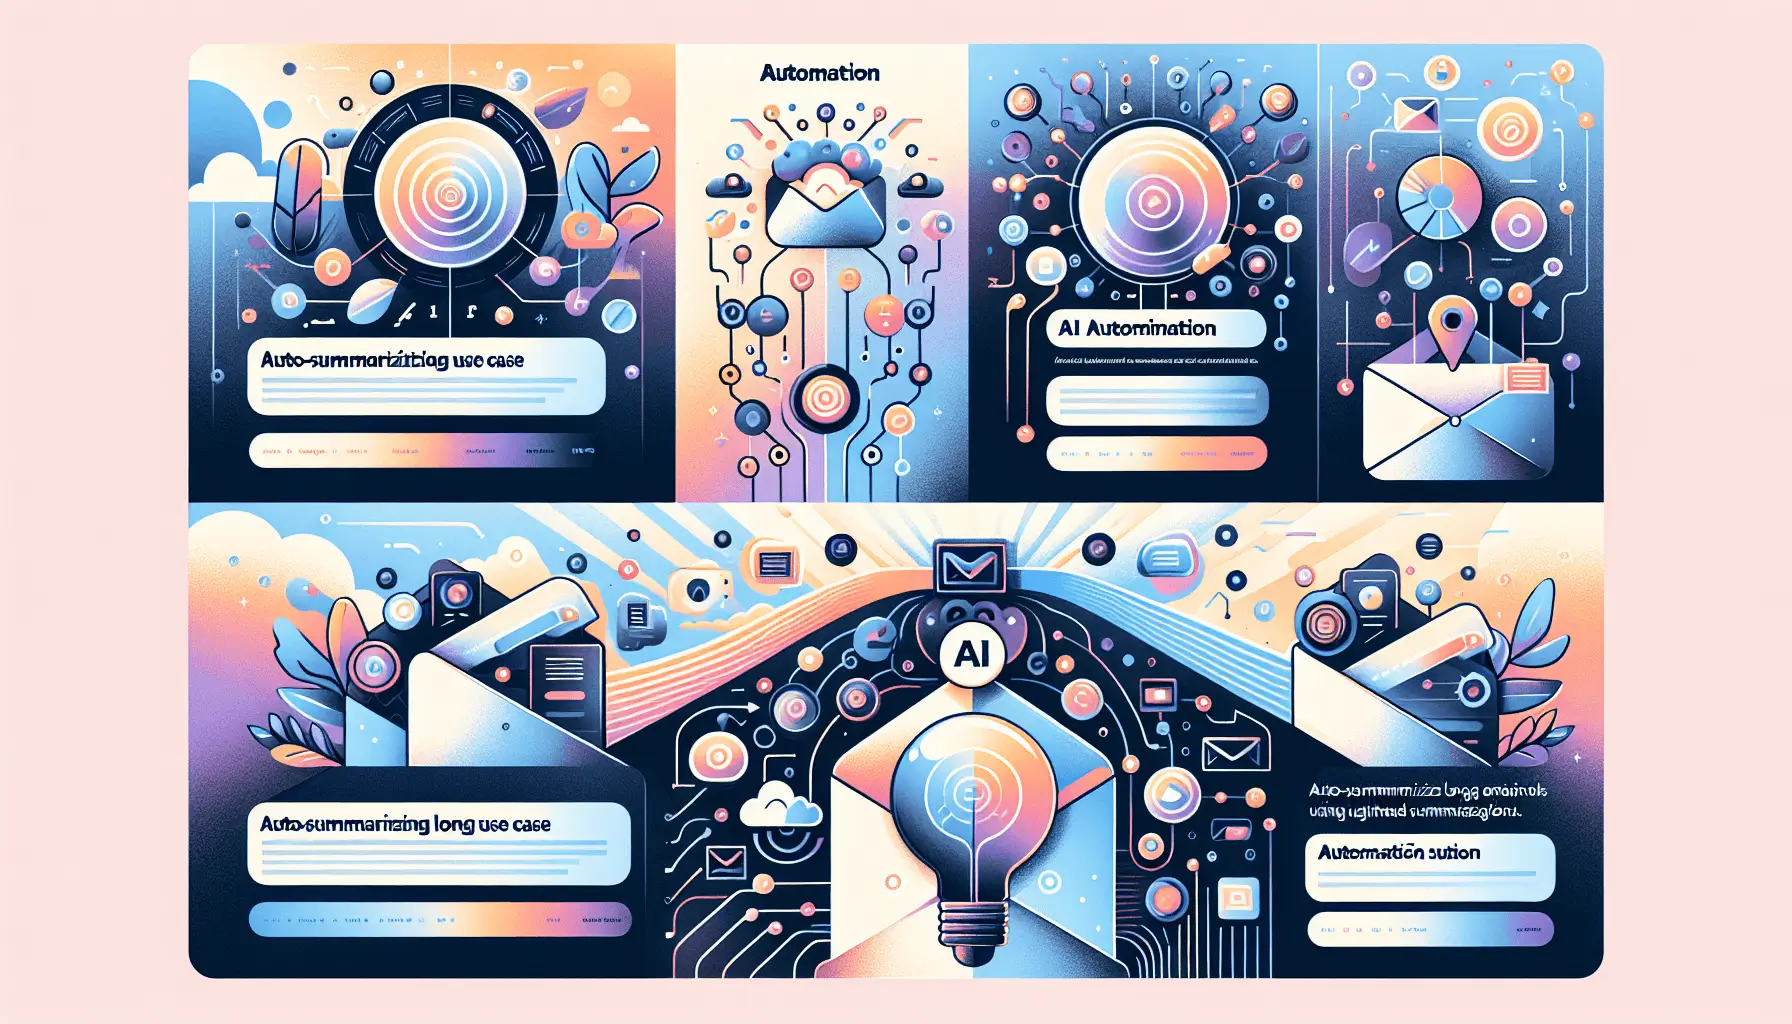
Personalizing customer communication is a game-changer for e-commerce businesses. By automating thank-you emails with AI, you can enhance customer experience without adding to your workload. In this guide, I’ll walk you through setting up an automated system that sends AI-crafted thank-you messages after each purchase on your Shopify store. We’ll use Shopify, OpenAI, Gmail, and Make (formerly Integromat) to make this happen. The setup should take about 30 minutes and is suitable for beginners.
**Step-by-Step Guide**
**1. Set Up Your Make Account**
First, sign up for a free account on [Make](https://www.make.com/). Once registered, log in to access your dashboard.
**2. Create a New Scenario in Make**
In your Make dashboard, click on the “Create a new scenario” button. This will open a blank canvas where you’ll build your automation.
**3. Add the Shopify Module**
Click on the “+” button to add a new module. Search for “Shopify” and select it. Choose the “Watch Orders” trigger. This module will monitor your Shopify store for new orders.
**Configuration:**
– **Connection:** Click “Add” to connect your Shopify account. You’ll need your store URL and API credentials.
– **Webhook Name:** Enter a descriptive name like “New Order Webhook.”
– **Order Status:** Select “Paid” to trigger the automation only for completed purchases.
**4. Add the OpenAI Module**
Next, add another module by clicking the “+” button. Search for “HTTP” and select it. This module will send a request to OpenAI’s API to generate the thank-you message.
**Configuration:**
– **URL:** Enter `https://api.openai.com/v1/completions`.
– **Method:** Select “POST.”
– **Headers:**
– **Authorization:** `Bearer YOUR_OPENAI_API_KEY` (replace `YOUR_OPENAI_API_KEY` with your actual OpenAI API key).
– **Content-Type:** `application/json`.
– **Body:**
“`json
{
“model”: “text-davinci-003”,
“prompt”: “Compose a personalized thank-you email for a customer named {{Customer Name}} who purchased {{Product Name}}.”,
“max_tokens”: 150
}
“`
Replace `{{Customer Name}}` and `{{Product Name}}` with the corresponding data from the Shopify module.
**5. Parse OpenAI’s Response**
Add a “Parse JSON” module to handle the response from OpenAI.
**Configuration:**
– **Data:** Map the `data` output from the HTTP module.
– **Schema:** Use the following schema:
“`json
{
“type”: “object”,
“properties”: {
“choices”: {
“type”: “array”,
“items”: {
“type”: “object”,
“properties”: {
“text”: {
“type”: “string”
}
}
}
}
}
}
“`
**6. Add the Gmail Module**
Now, add a Gmail module to send the email.
**Configuration:**
– **Connection:** Connect your Gmail account.
– **To:** Map the customer’s email address from the Shopify module.
– **Subject:** Enter a subject like “Thank You for Your Purchase!”
– **Body:** Map the `text` field from the parsed OpenAI response.
**7. Test and Activate the Scenario**
Click the “Run once” button to test your scenario. Place a test order in your Shopify store to see if the automation works correctly. If everything looks good, activate the scenario by toggling the switch to “On.”
**Optional Enhancements**
– **Personalize Further:** Include details like the customer’s order number or estimated delivery date in the email.
– **Add a Delay:** Use a “Sleep” module to delay the email by a few hours, making it feel more natural.
– **Track Email Opens:** Integrate with an email tracking service to monitor open rates and adjust your messaging accordingly.
By following these steps, you’ll have a fully automated system that sends personalized thank-you emails to your customers, enhancing their shopping experience and fostering loyalty.