Managing your time effectively is crucial, especially when juggling multiple meetings and tasks. Automating your time tracking by linking Google Calendar events to Toggl Track can save you time and ensure accurate records. In this guide, I’ll walk you through setting up an automation using Make (formerly Integromat) to start a Toggl timer automatically when a meeting begins in your Google Calendar.
Introduction
By integrating Google Calendar with Toggl Track through Make, you can automate the process of starting a time entry whenever a scheduled meeting begins. This setup ensures that your time tracking is precise and effortless, allowing you to focus on the meeting itself rather than manually starting timers.
Step-by-Step Guide
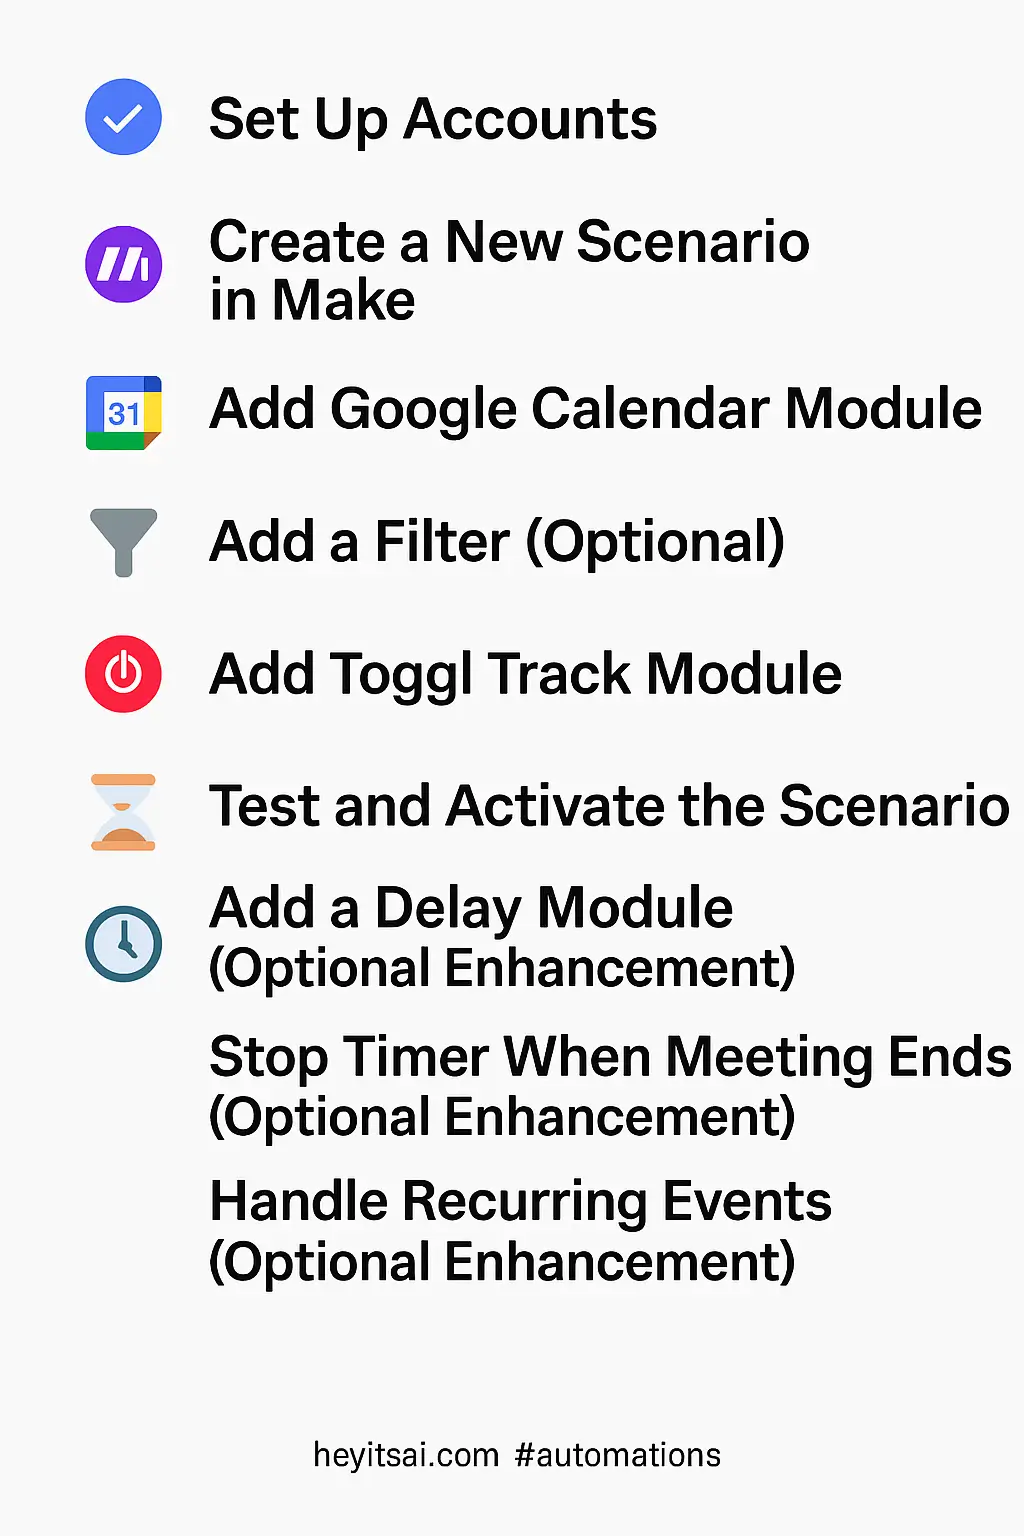
1. Set Up Accounts
Before we dive into the automation, ensure you have active accounts on the following platforms:
- Google Calendar: Your primary scheduling tool.
- Toggl Track: For time tracking.
- Make: The automation platform we’ll use to connect Google Calendar and Toggl Track.
If you haven’t already, sign up for these services. Make offers a free plan that should suffice for this automation.
2. Create a New Scenario in Make
Once your accounts are ready, log in to Make and create a new scenario:
- Click on the “Create a new scenario” button.
- In the scenario editor, click the plus icon to add your first module.
3. Add Google Calendar Module
We’ll start by setting up a trigger that activates when a new event starts in Google Calendar:
- Search for and select the Google Calendar module.
- Choose the “Watch Events” trigger.
- Connect your Google Calendar account by following the authentication prompts.
- Configure the module:
- Calendar ID: Select the calendar you want to monitor.
- Event Status: Choose “Confirmed” to track only confirmed events.
- Time Period: Set the time frame for monitoring upcoming events (e.g., the next 15 minutes).
This setup ensures that the scenario triggers shortly before a meeting starts.
4. Add a Filter (Optional)
If you want to start timers only for specific events (e.g., those containing certain keywords), add a filter:
- Click the wrench icon between the Google Calendar module and the next module.
- Set up a condition, such as:
- Event Summary contains “Meeting”.
This filter ensures that the automation applies only to relevant events.
5. Add Toggl Track Module
Next, we’ll set up the action to start a time entry in Toggl Track:
- Click the plus icon to add another module.
- Search for and select the Toggl Track module.
- Choose the “Create a Time Entry” action.
- Connect your Toggl Track account by following the authentication prompts.
- Configure the module:
- Description: Map this to the Event Summary from Google Calendar.
- Start Time: Set this to the event’s start time.
- Duration: Leave this blank to create a running timer.
- Project: Select the appropriate project or leave it blank if not applicable.
- Tags: Optionally, add tags like “Meeting” for better categorization.
This configuration will start a new time entry in Toggl Track when the event begins.
6. Test and Activate the Scenario
Before activating the scenario, it’s essential to test it:
- Click the “Run Once” button in Make.
- Create a test event in your Google Calendar that matches the criteria.
- Ensure that a corresponding time entry appears in Toggl Track when the event starts.
If everything works as expected:
- Click the “Schedule” button in Make.
- Set the scenario to run at your desired frequency (e.g., every 5 minutes).
- Activate the scenario.
Optional Enhancements
To further refine your automation, consider the following enhancements:
1. Add a Delay Module
If you want the timer to start a few minutes after the meeting begins (e.g., to account for late starts), add a delay:
- Insert a “Sleep” module between the Google Calendar and Toggl Track modules.
- Set the delay duration (e.g., 5 minutes).
2. Stop Timer When Meeting Ends
To automatically stop the timer when the meeting ends:
- Add another Google Calendar module set to “Watch Events” for event end times.
- Add a Toggl Track module with the “Stop Time Entry” action.
- Ensure the scenario matches the correct time entry to stop.
3. Handle Recurring Events
If you have recurring meetings:
- Ensure the Google Calendar module is set to handle recurring events.
- Test to confirm that the automation triggers for each occurrence.
By following these steps, you can automate your time tracking process, ensuring that every meeting is accurately logged without manual intervention. This setup not only saves time but also enhances productivity by allowing you to focus on the meeting content rather than administrative tasks.