Hey there! If you’re looking to automate the process of generating captions for your YouTube videos using Google’s Speech-to-Text API, you’re in the right place. In this guide, I’ll walk you through setting up an automation workflow using Make.com (formerly Integromat) to transcribe your videos and upload the captions to YouTube. Let’s dive in!
Introduction
Creating accurate captions for your YouTube videos enhances accessibility and improves SEO, making your content more discoverable. Manually transcribing videos can be time-consuming, but by leveraging Google’s Speech-to-Text API and Make.com, you can automate this process efficiently.
Step-by-Step Guide
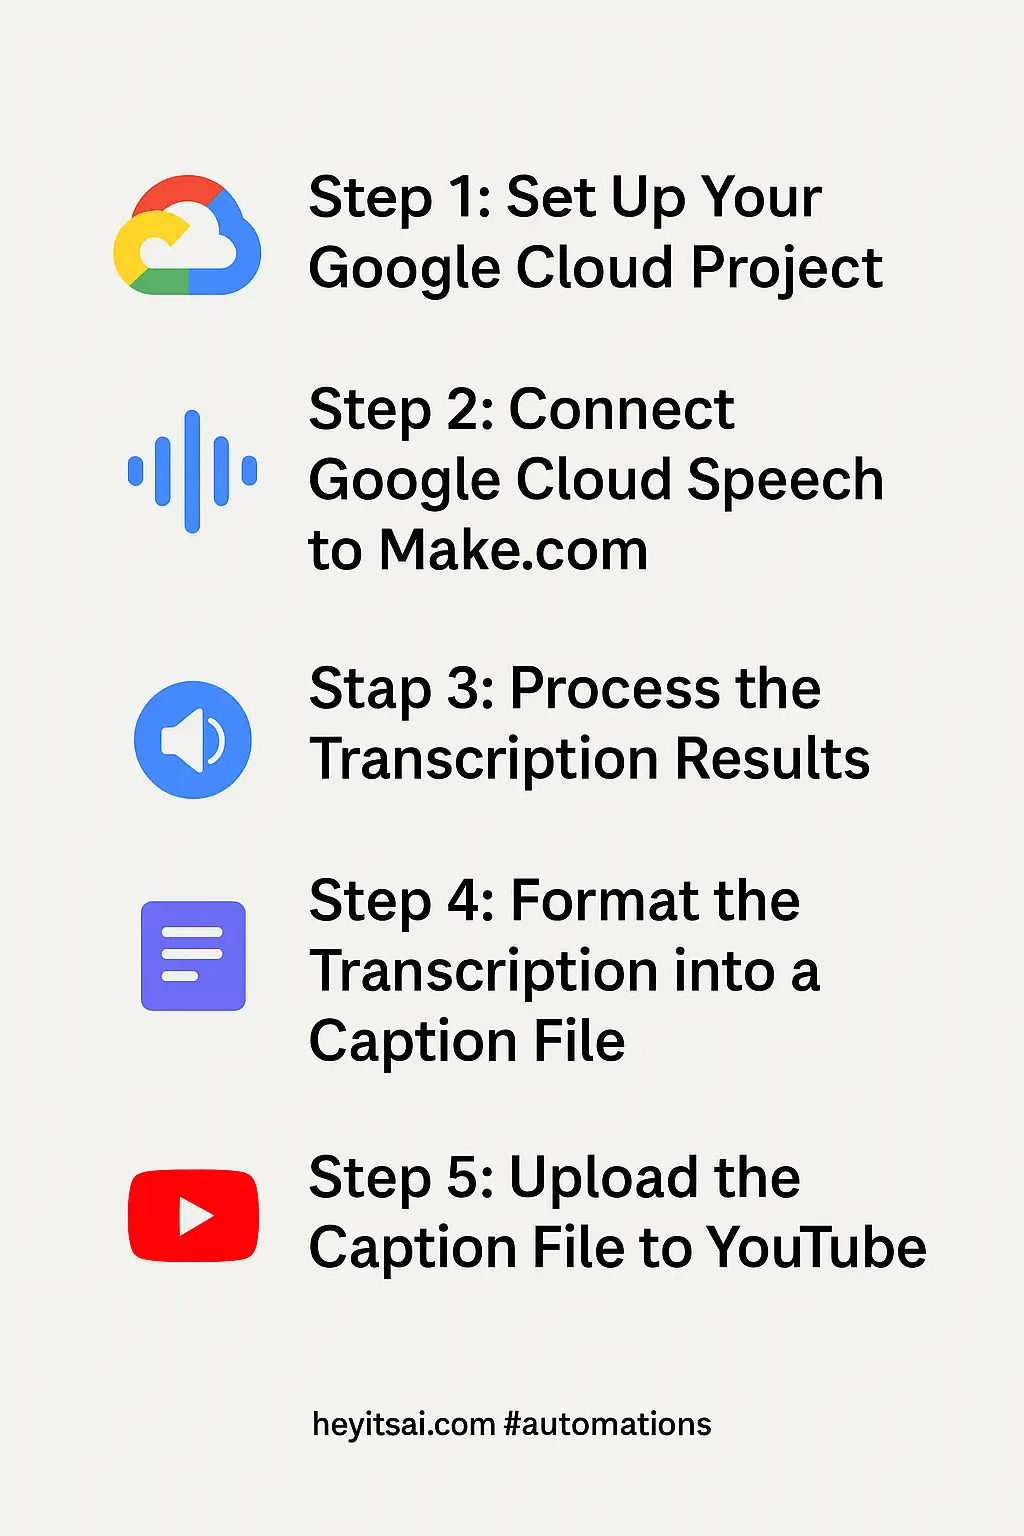
Step 1: Set Up Your Google Cloud Project
First, you’ll need to set up a project in Google Cloud to access the Speech-to-Text API.
- Create a Google Cloud Project: Go to the Google Cloud Console and create a new project.
- Enable the Speech-to-Text API: In your project dashboard, navigate to “APIs & Services” > “Library,” search for “Cloud Speech-to-Text API,” and enable it.
- Set Up Authentication: Create a service account with the necessary permissions and download the JSON key file. This file will be used to authenticate your API requests.
For detailed instructions, refer to the Make.com documentation.
Step 2: Connect Google Cloud Speech to Make.com
Now, let’s integrate Google Cloud Speech with Make.com.
- Create a New Scenario: Log in to your Make.com account and create a new scenario.
- Add the Google Cloud Speech Module: Search for “Google Cloud Speech” and add the “Start Asynchronous Speech Recognition” module.
- Configure the Module:
- Connection: Click “Add” to create a new connection. Enter your Google Cloud project credentials, including the Client ID and Client Secret from your service account.
- Audio File: Provide the URL of the audio file you want to transcribe. Ensure the file is accessible and in a supported format (e.g., MP3, WAV).
- Language Code: Specify the language code of the audio content (e.g., “en-US” for English).
For more details, check out the Make.com documentation.
Step 3: Process the Transcription Results
After initiating the transcription, you’ll need to retrieve and process the results.
- Add the “Get the State of Asynchronous Speech Recognition” Module: This module checks the status of the transcription process.
- Configure the Module:
- Operation Name: Map this to the “Name” output from the previous module.
- Add a Router: To handle different outcomes (e.g., success, failure), add a router after this module.
- Set Up Conditions:
- Success Path: If the status is “DONE,” proceed to process the transcription.
- Failure Path: Handle errors or retries as needed.
Step 4: Format the Transcription into a Caption File
Once you have the transcription, you’ll need to format it into a caption file compatible with YouTube.
- Add a “Text Aggregator” Module: This module will help you format the transcription into the SubRip Subtitle (SRT) format.
- Configure the Module:
- Source Module: Select the module that retrieved the transcription text.
- Text: Use a template to format the text into SRT format, including sequence numbers, timestamps, and the transcribed text.
- Save the Caption File: Use a “Google Drive” or “Dropbox” module to save the formatted caption file.
Step 5: Upload the Caption File to YouTube
Finally, upload the caption file to your YouTube video.
- Add the YouTube Module: Search for “YouTube” and add the “Upload a Caption Track” module.
- Configure the Module:
- Connection: Connect your YouTube account.
- Video ID: Provide the ID of the video you’re adding captions to.
- Language: Specify the language of the captions.
- Caption File: Map this to the file saved in the previous step.
Optional Enhancements
Here are a few quick-win ideas to enhance your workflow:
- Automate Video Uploads: Integrate a module that triggers the workflow whenever a new video is uploaded to your YouTube channel.
- Multi-Language Support: Extend the workflow to generate captions in multiple languages by configuring the Speech-to-Text module accordingly.
- Notification System: Set up email or Slack notifications to alert you when captions have been successfully uploaded.
By following these steps, you can automate the generation and uploading of captions for your YouTube videos, saving time and ensuring your content is accessible to a broader audience. Happy automating!