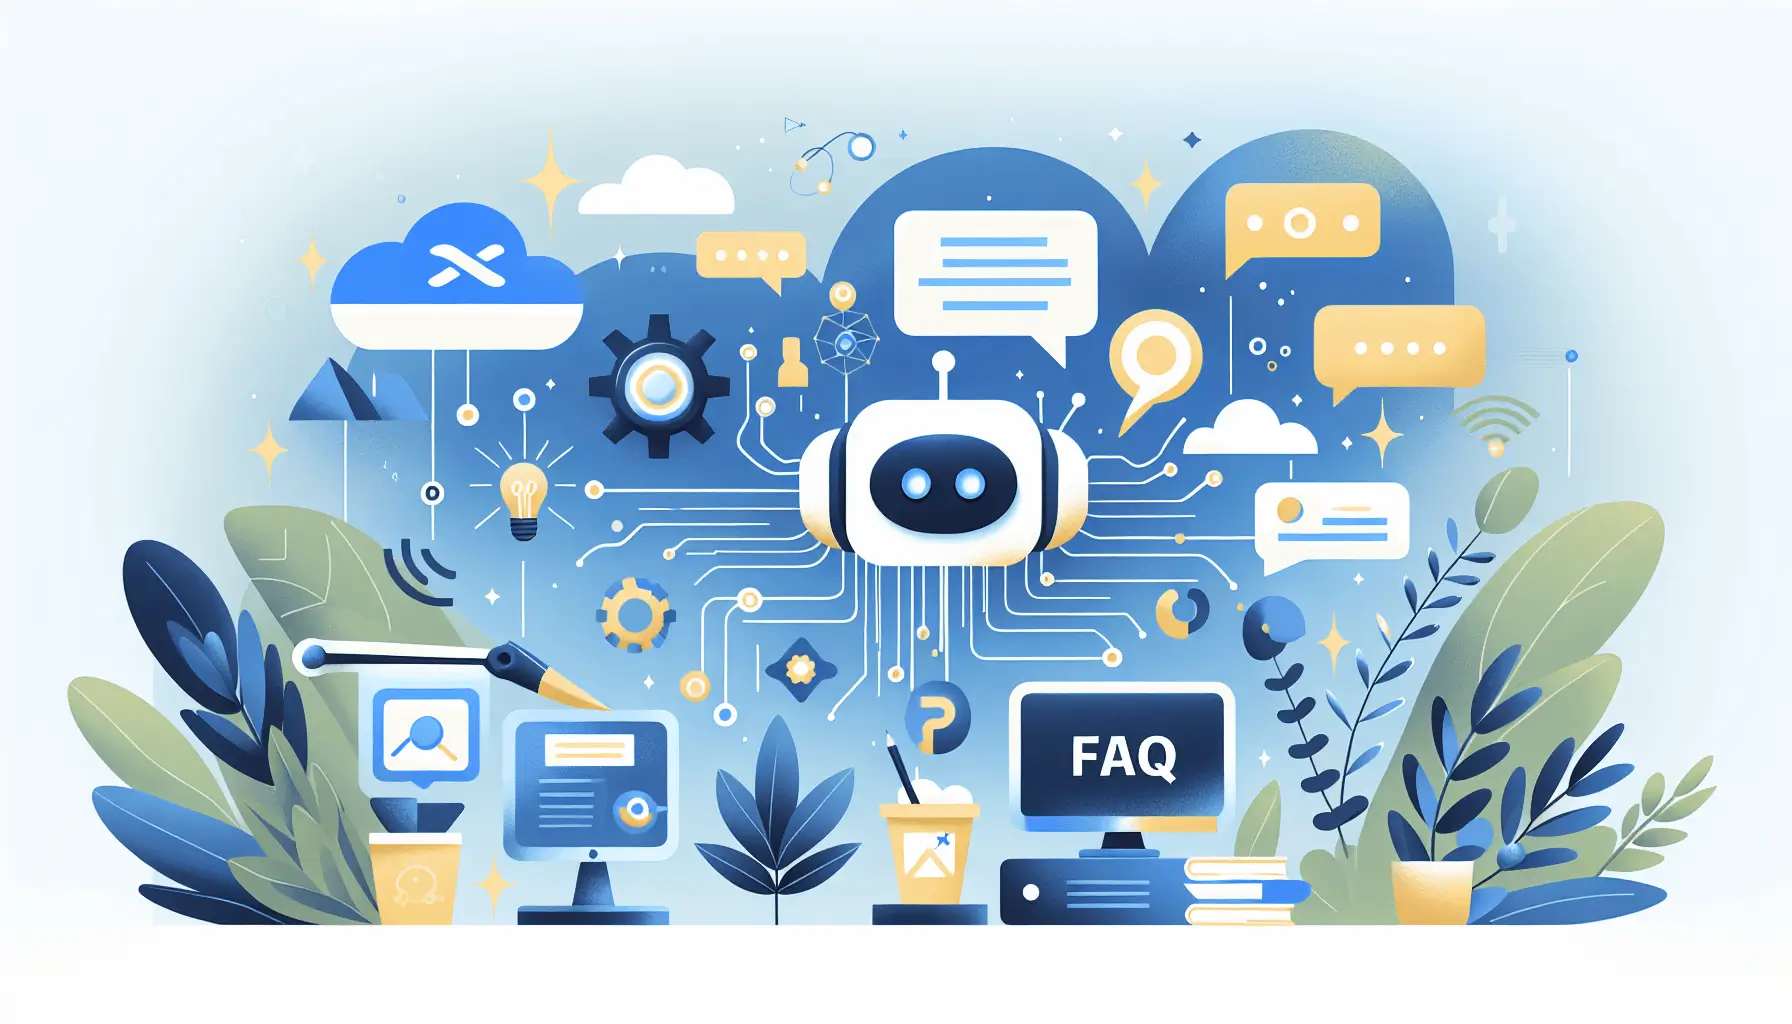
Hey there! If you’re looking to set up an AI-driven FAQ bot that instantly answers user questions by tapping into your knowledge base, you’re in the right place. In this guide, I’ll walk you through building this bot using Inbenta and Zapier. We’ll cover everything from setting up Inbenta to configuring Zapier to handle user queries. Let’s dive in!
Introduction
Creating an AI-driven FAQ bot can significantly enhance your customer support by providing instant answers to common questions. By integrating Inbenta’s powerful AI capabilities with Zapier’s automation platform, you can set up a system that efficiently handles user inquiries. This setup is designed to be completed in about 2 hours and is suitable for those with an intermediate skill level.
Step-by-Step Guide
Step 1: Set Up Your Inbenta Account
First things first, you’ll need an Inbenta account. If you haven’t already, sign up on their website. Once registered, log in to access your dashboard.
Step 2: Obtain Inbenta API Credentials
To interact with Inbenta’s API, you’ll need specific credentials:
- API Key: Grants access to the API.
- API Secret: Allows secure access to your instance’s data.
- Domain Key: For client-side integrations from specific domains.
To obtain these:
- Navigate to the API section in your Inbenta dashboard.
- Request your API Key, API Secret, and Domain Key.
- Keep your API Secret confidential and use it only in server-side environments.
For more details, refer to Inbenta’s API Setup documentation.
Step 3: Authenticate and Authorize API Access
Before making API calls, you need to authenticate and obtain an access token:
- Send a POST request to
https://api.inbenta.io/v1/authwith your API Secret. - Receive an access token in response.
- Use this token in the Authorization header for subsequent API requests.
Remember, always perform this request server-side to keep your API Secret secure. Detailed instructions are available in Inbenta’s Auth API Overview.
Step 4: Set Up Your Knowledge Base in Inbenta
With API access ready, it’s time to populate your knowledge base:
- In your Inbenta dashboard, navigate to the Knowledge Base section.
- Add common questions and their corresponding answers.
- Organize content into categories for better management.
This structured approach ensures your FAQ bot can retrieve accurate information efficiently.
Step 5: Configure Zapier to Handle User Queries
Now, let’s set up Zapier to process user questions and fetch answers from Inbenta:
- Trigger Setup:
- Choose a trigger app where user questions originate (e.g., a form submission app).
- Set the trigger event to capture new submissions.
- Action Setup:
- Add an action step using the “Webhooks by Zapier” module.
- Configure it to send a POST request to Inbenta’s API endpoint for retrieving answers.
- In the request body, include the user’s question and your access token.
- Response Handling:
- Add another action step to process Inbenta’s response.
- Use the parsed answer to send a reply back to the user via your chosen platform (e.g., email, chat).
Ensure you map the fields correctly between Zapier and Inbenta. For instance, the user’s question from the form should map to the query parameter in the API request.
Step 6: Test and Deploy
Before going live:
- Test the entire workflow by submitting a sample question.
- Verify that the bot retrieves and sends the correct answer.
- Once confirmed, activate the Zap to handle real user queries.
Optional Enhancements
To further improve your FAQ bot:
- Integrate with Multiple Platforms: Set up triggers for various platforms like Slack, Facebook Messenger, or your website chat to handle questions from different sources.
- Implement Logging: Use tools like Airtable to log user questions and bot responses. Create fields such as “user_question”, “bot_answer”, and “timestamp” to monitor performance and identify areas for improvement.
- Set Up Alerts for Unanswered Questions: Configure Zapier to notify you via email or Slack when the bot encounters a question it can’t answer, allowing for timely updates to your knowledge base.
By following these steps, you’ll have a robust AI-driven FAQ bot up and running in no time. Happy automating!